
Introduction: How my Soft Glam Came to Be
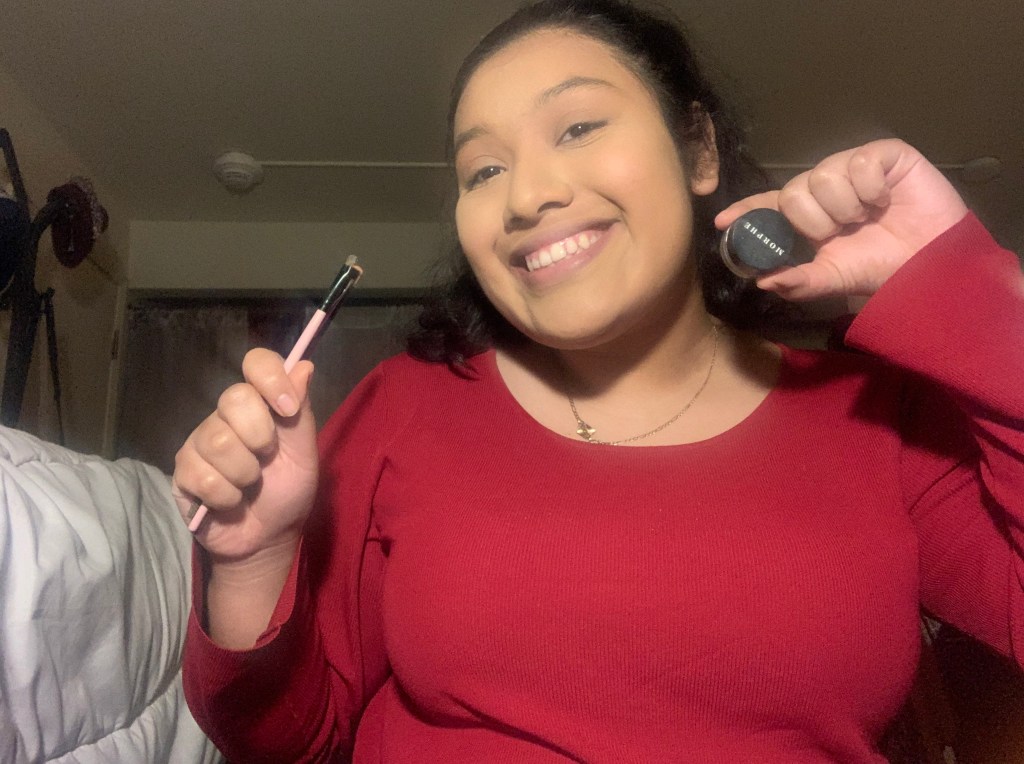
Hey ya’ll! It’s Angie here and today I’m going to talk about and show you my soft glam make up look that I do every time I have a special outing or occasion!If you’ve been reading my previous posts, you see me explain my passion for make up and beauty products and when it started. But here you will see me explain a step by step process I go through in order to perfect my make up look that I think suits me! It’s not for everybody! But I truly believe it is simple enough for anyone to achive on their own! The products I mention in my description below are pretty pricey, I’m sorry :(, but if anyone asks me for dupes that I could provide, I will surely do that in a post in the future!
I think this make up look is important to me and other people because make up is a huge component in our appearances today and it makes us feel and look good! I very much enjoy it because I love dressing up and it boosts my self confidence! It is a huge and popular topic within our youth today, so it’s a great way to bond with other people as well as learn new things. I also want to share tips and tricks I use so other people can learn! Without further ado, here is my 12-step soft glam look!
Make up products I use in my Soft Glam look
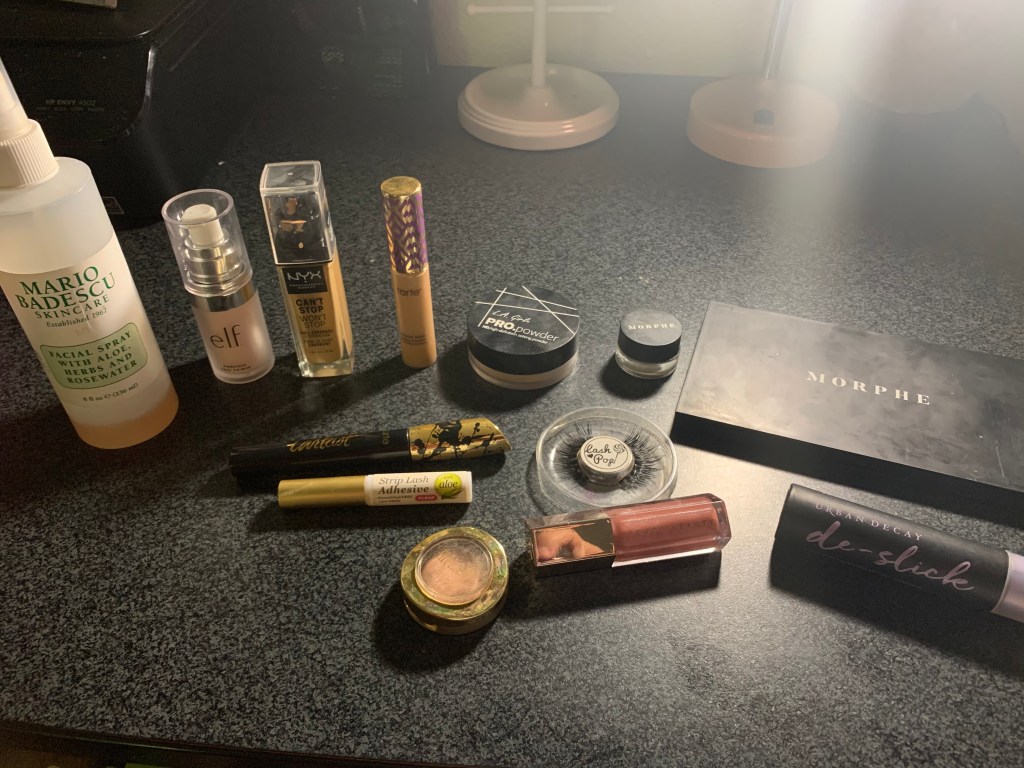
- Mario Badescu – Facial Spray with Aloe, Herbs and Rosewater
- Elf – ‘Poreless Face Primer’
- NYX Professional Makeup – ‘Can’t Stop Won’t Stop’ Foundation in the shade ‘Neutral Tan’
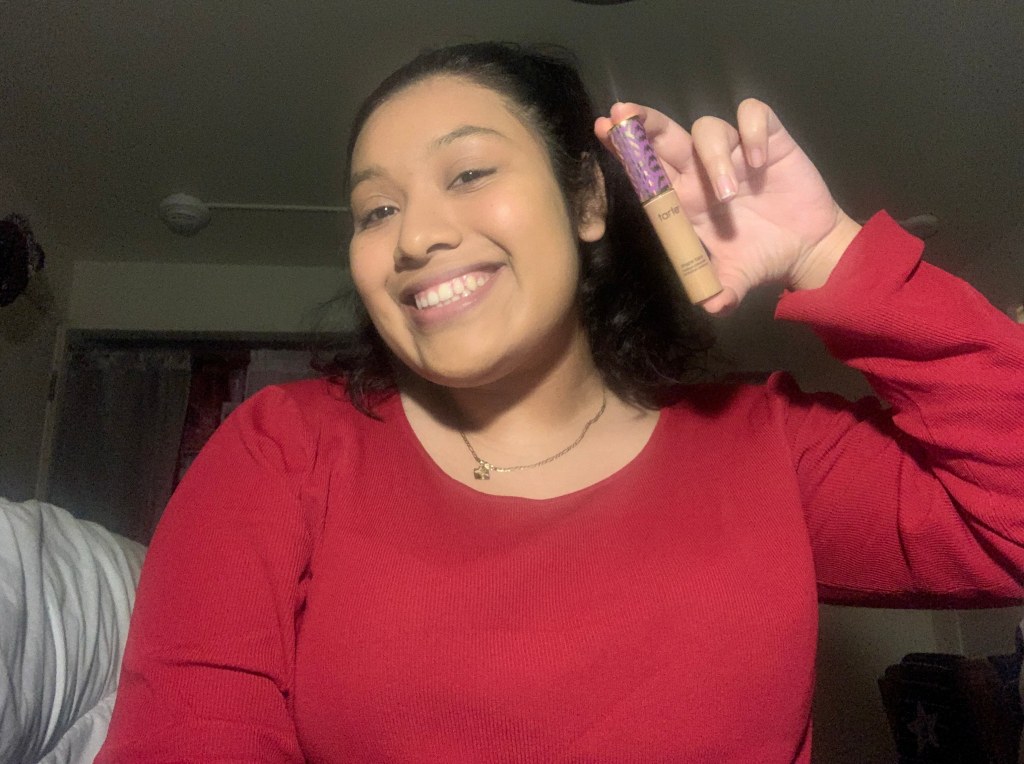
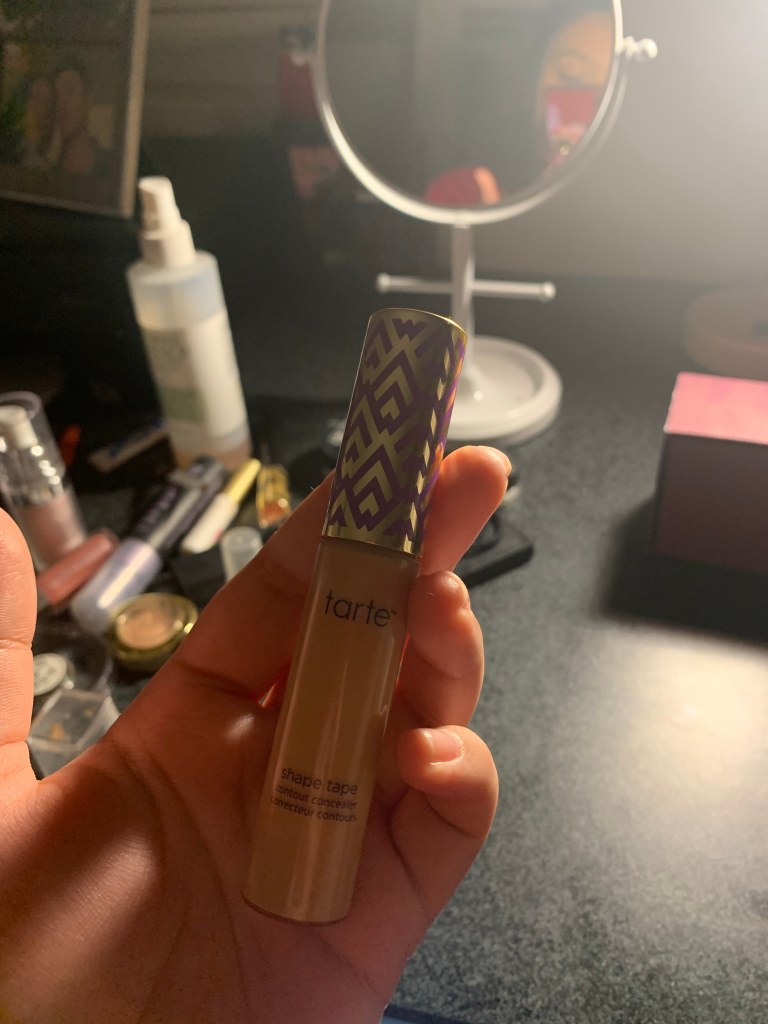
- Tarte – Shape Tape Concealer in the shade ‘Tan Sand’
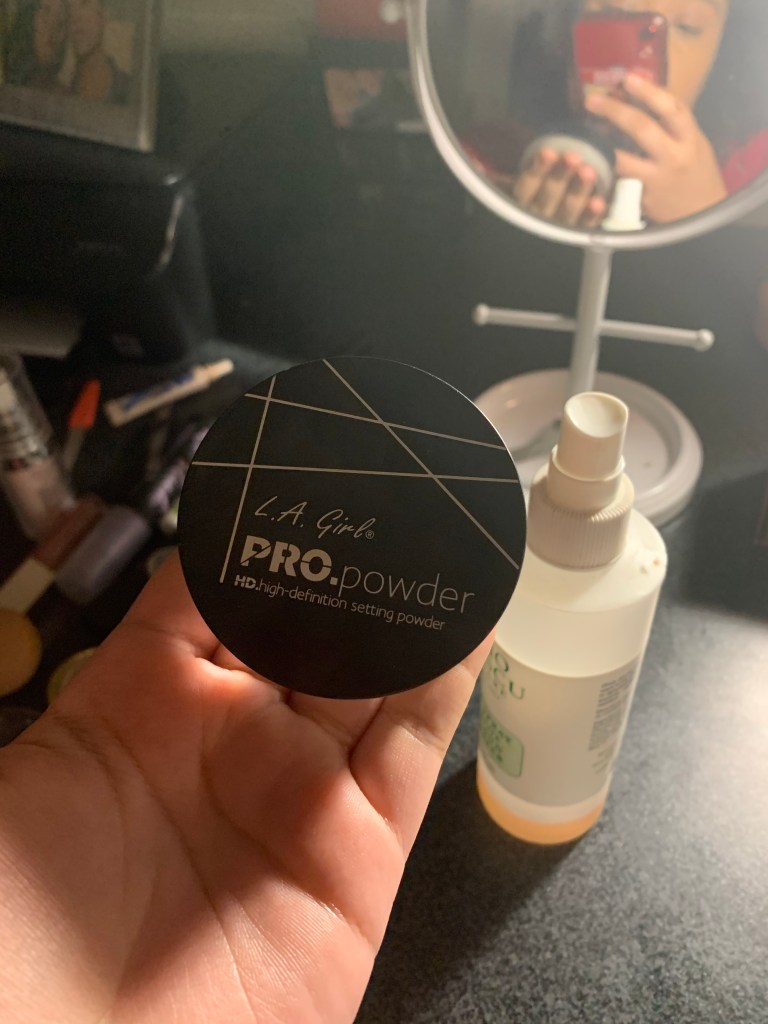
- L.A. Girl – Pro HD High Definition Setting Powder
- Morphe – Brow Cream in the shade ‘Java’
- Morphe – Highlighter Palette ‘8S Stellar Impact’
- Milani – Eye shadow in the shade ‘Bella Champagne’
- KISS – Strip lash Adhesive
- Lash Pop – Eyelashes in the style ‘Send Nudes’
- Tarte – Mascara
- Fenty Beauty – Lip Gloss in the shade ‘Fu$$y’
- Urban Decay – Setting Spray named ‘de-slick’
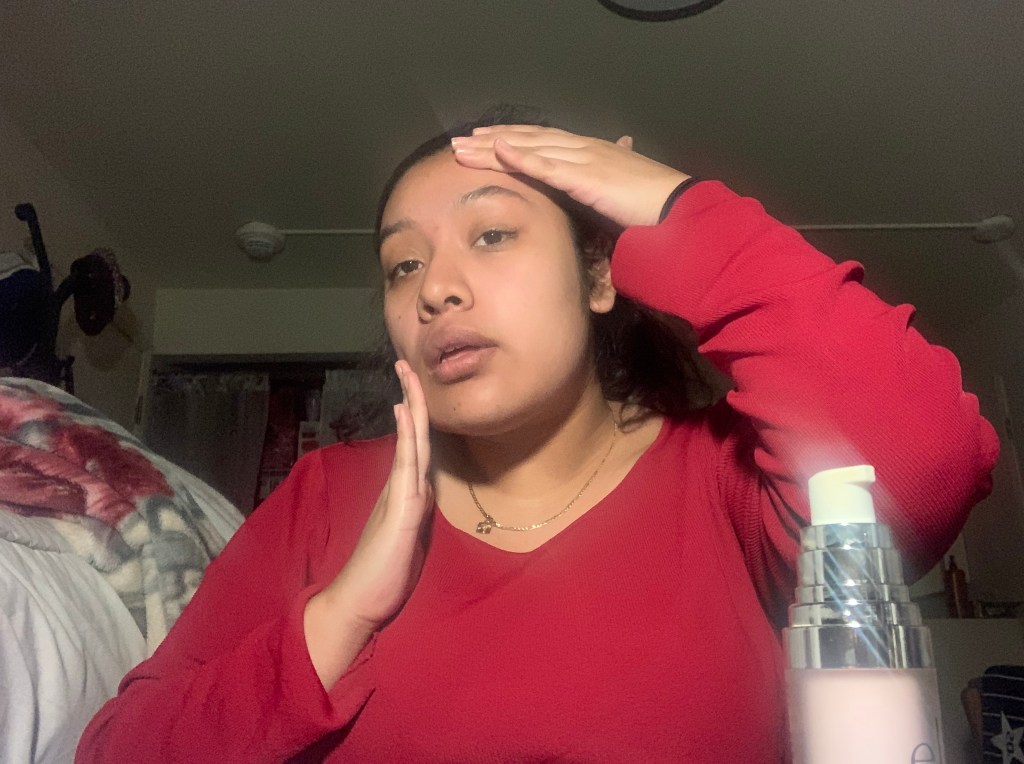
Step 1: Prep with face spray
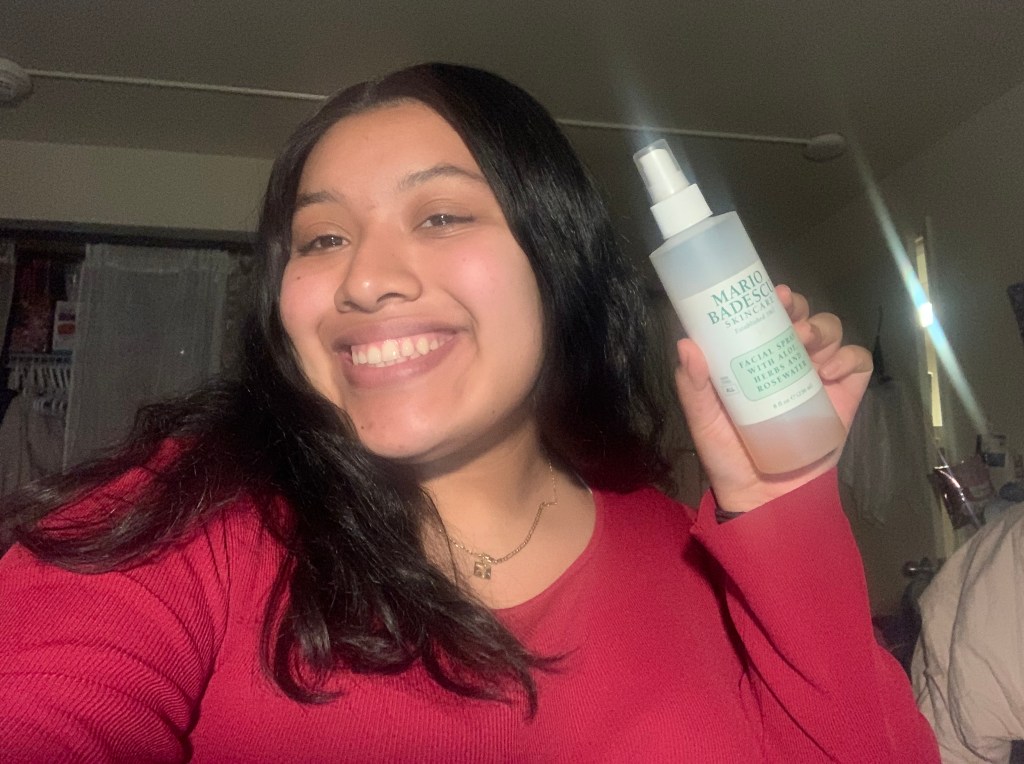
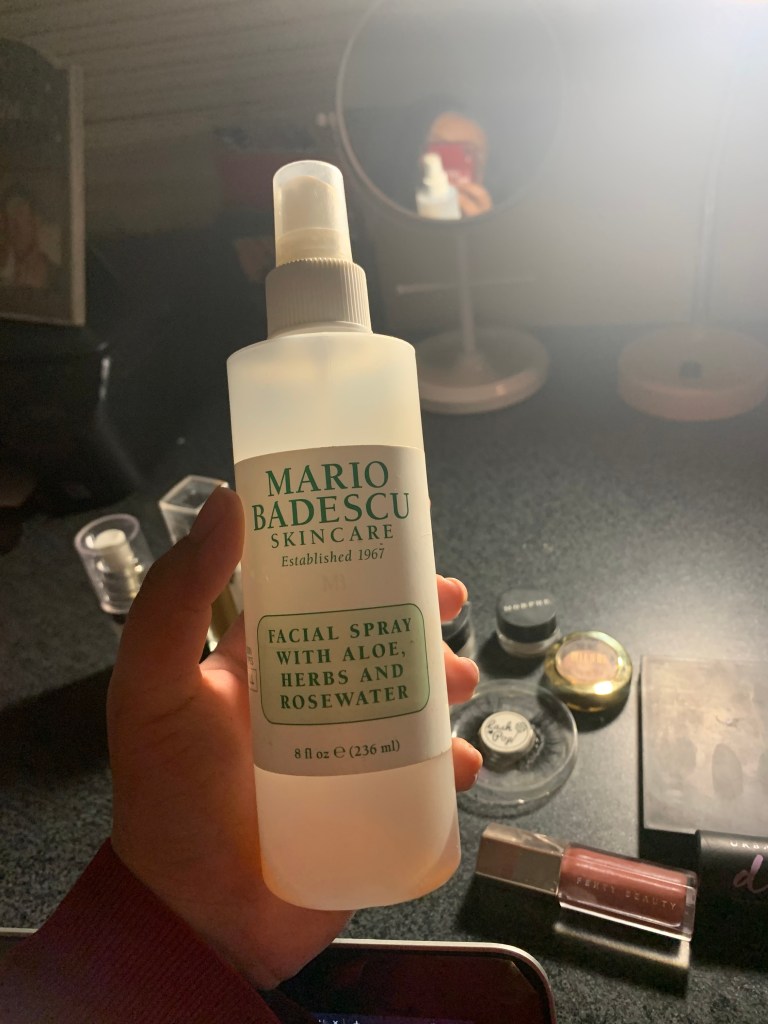
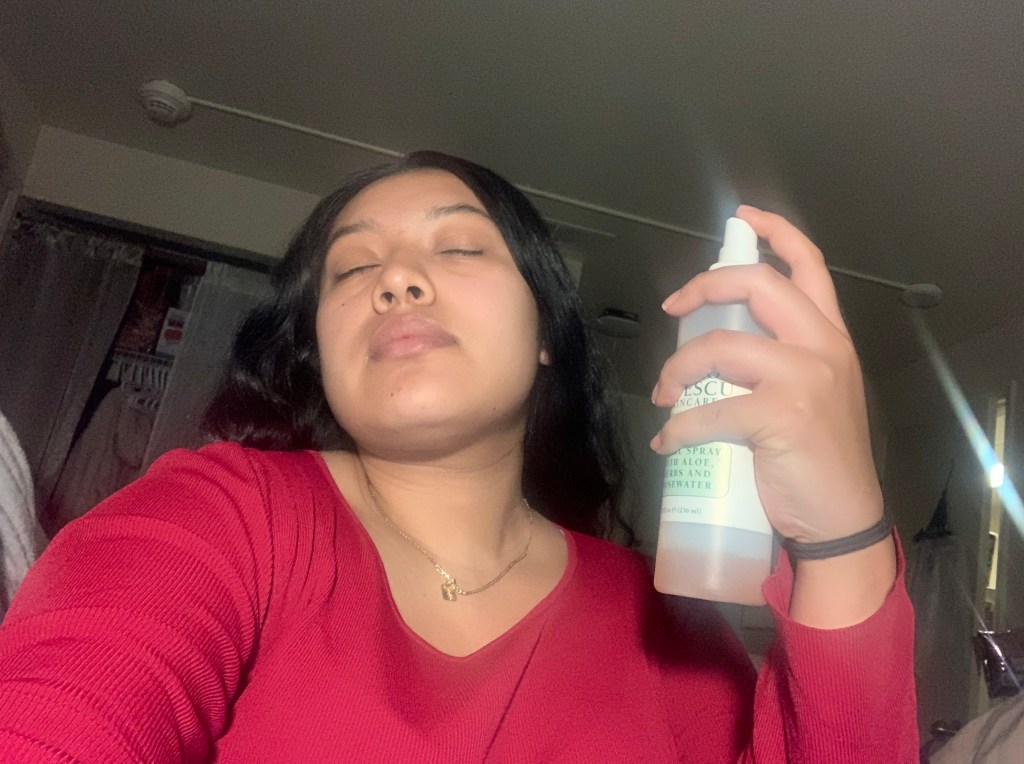
This is my very first step before I ever do my make up. This spray is a 3-in-1 and by that I mean it has three uses in 1 product. It can prep your skin which means it can hydrate your skin and give it some moisture before adding any product. Second, it can set your makeup which means that when you’re finally finished with your look and you spray this on and it will set your make up in place for a good chunk of the day .
So what you do is take the cap on and spray a light amount all over your face. Make sure you spray it all over the area that you will be placing any product.
Step 2: Primer
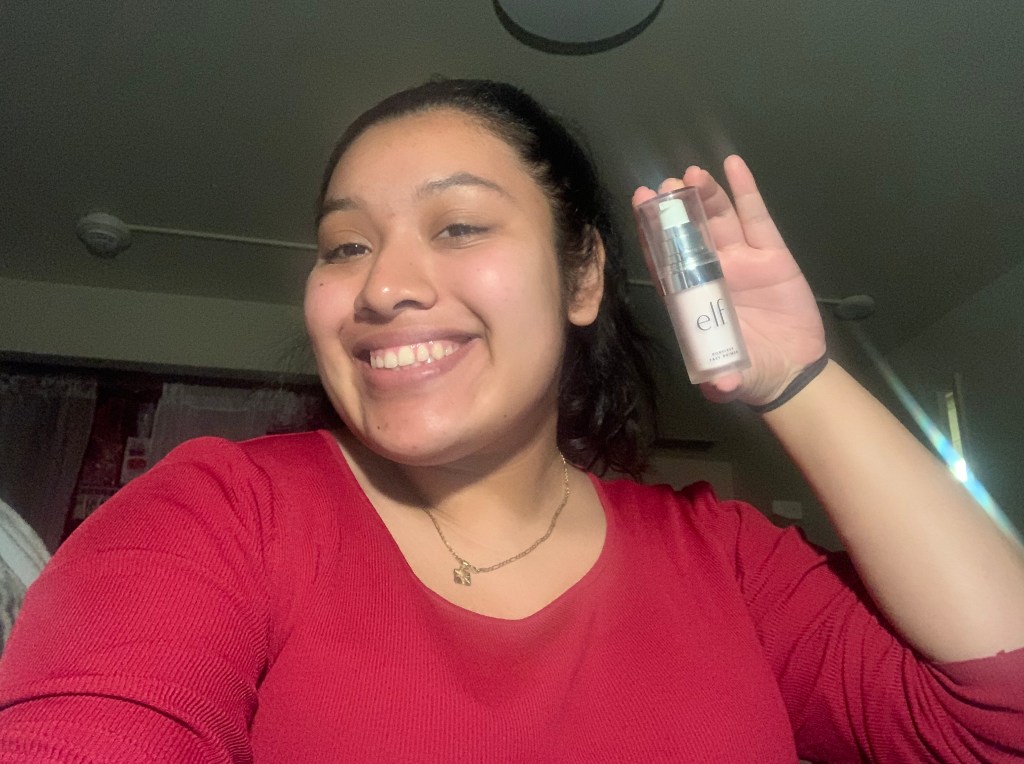
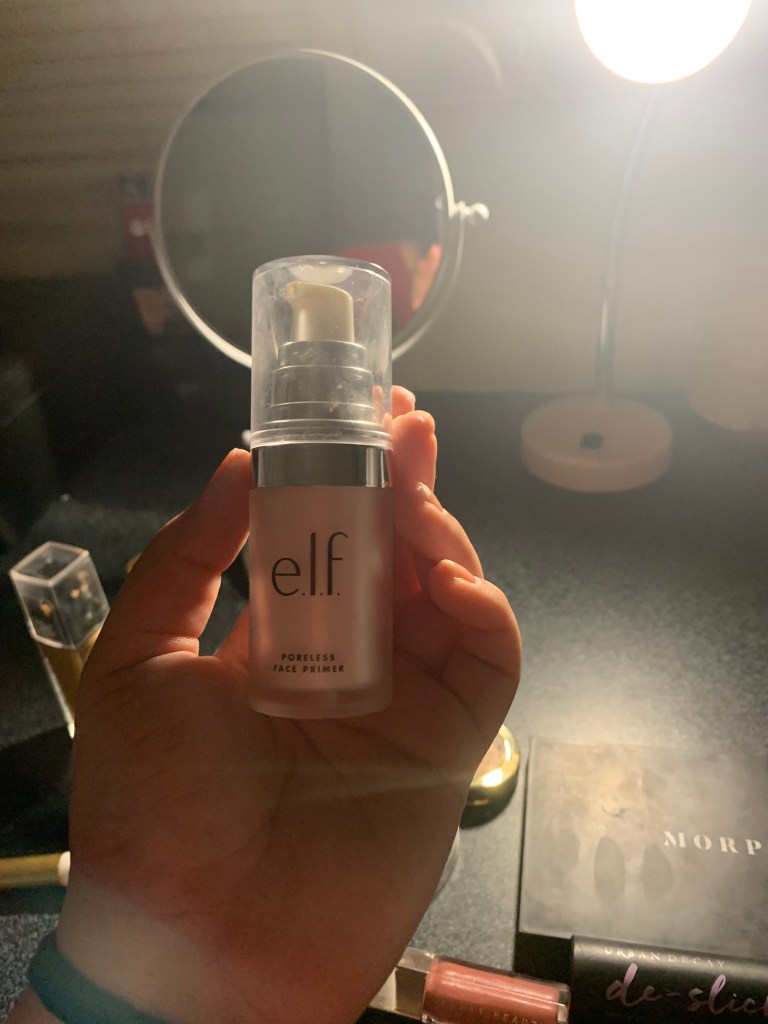
I’ve always loved Elf primer because it is super cheap and actually works! What face primer is supposed to do is fill in your pores so when you put on any type of makeup product, it doesn’t get into your pores. When makeup seeps into your pores it tends to cause face problems such as oily skin, dark patches, or acne. Primer is very good in protecting your skin as well as keeping it hydrated underneath the layers of makeup I’m about to put on.
You apply 1-2 pumps onto your hand and you rub the product all over your face and in the areas in which you will be applying your makeup. I tend to rub a little more product on my eyelids and my nose because that is where I am mostly oily.
Step 3: Foundation
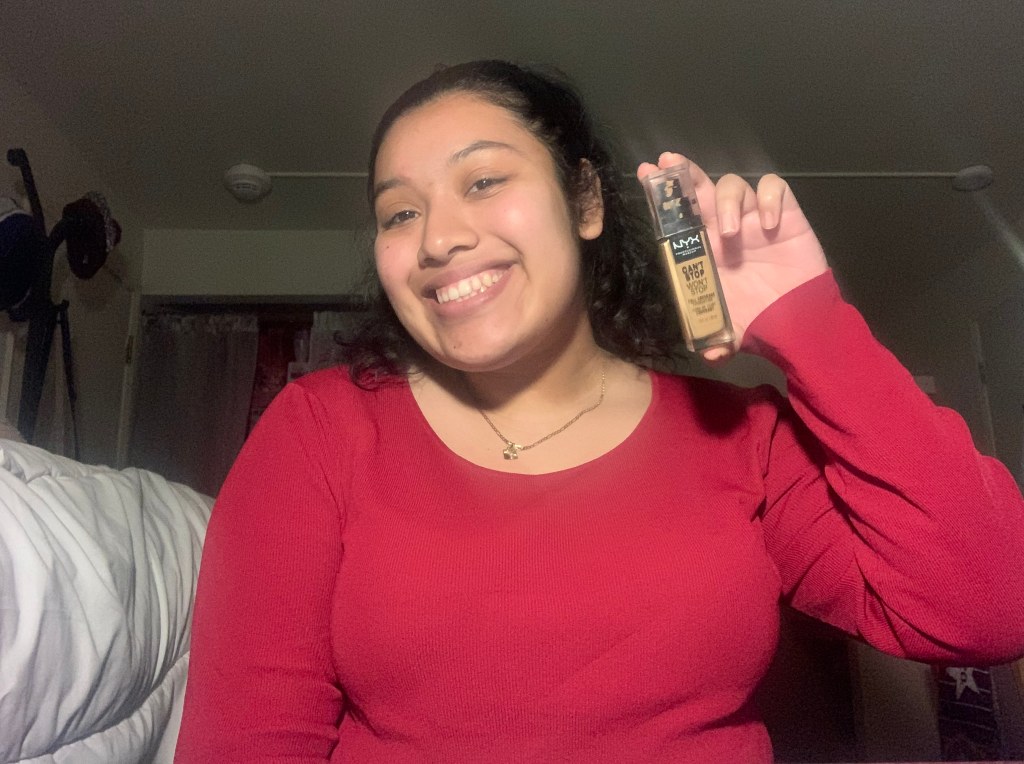


Foundation is literally a gift from the gods because it gives me 3D plastic surgery skin! LOL! I absolutely love foundation because it gives your skin that smooth matte finish and makes you look like you don’t have any flaws and you are living and enjoying it.
I will be using tools and brushes in this tutorial and the reason I didn’t include them in the beginning was because they were all gifts and not things I purchased. But I will discuss them in my steps.
What you need to do is open the foundation bottle and put 1-2 pumps on your hand and use a wet beauty sponge, and by wet I mean use the prep spray I mentioned in the first step so that you won’t have a dry beauty beauty sponge because then that will soak up all the product. Then once you put the foundation on the beauty sponge, you spread it all over your face. Use until you are satisfied with how your skin looks.
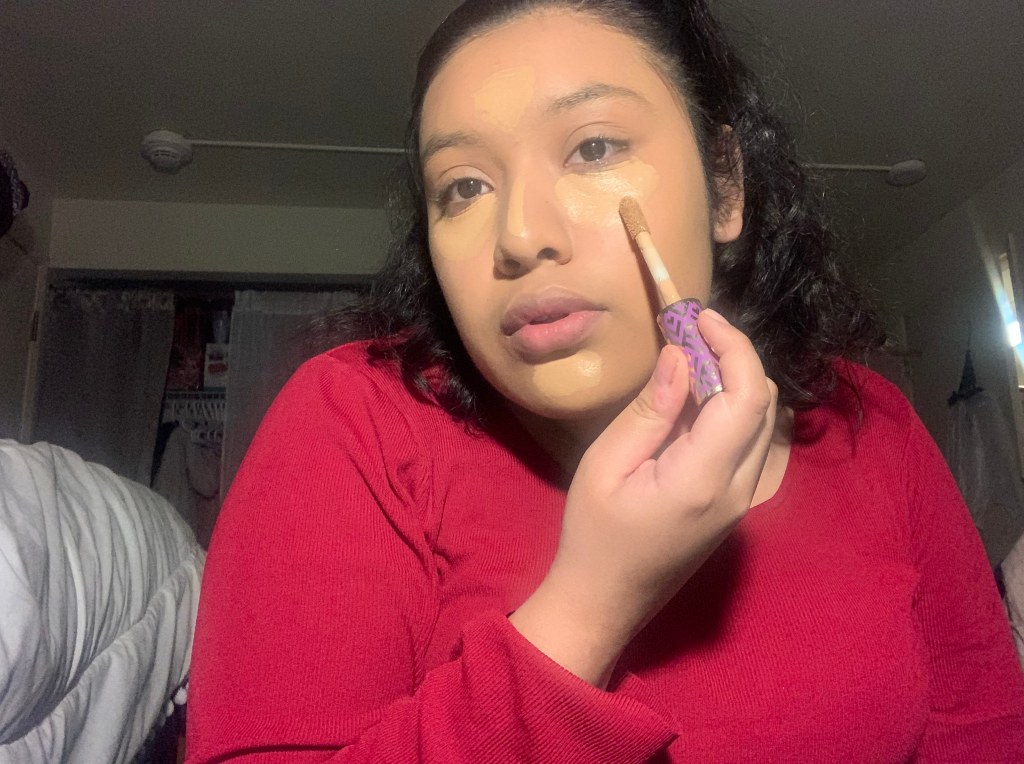
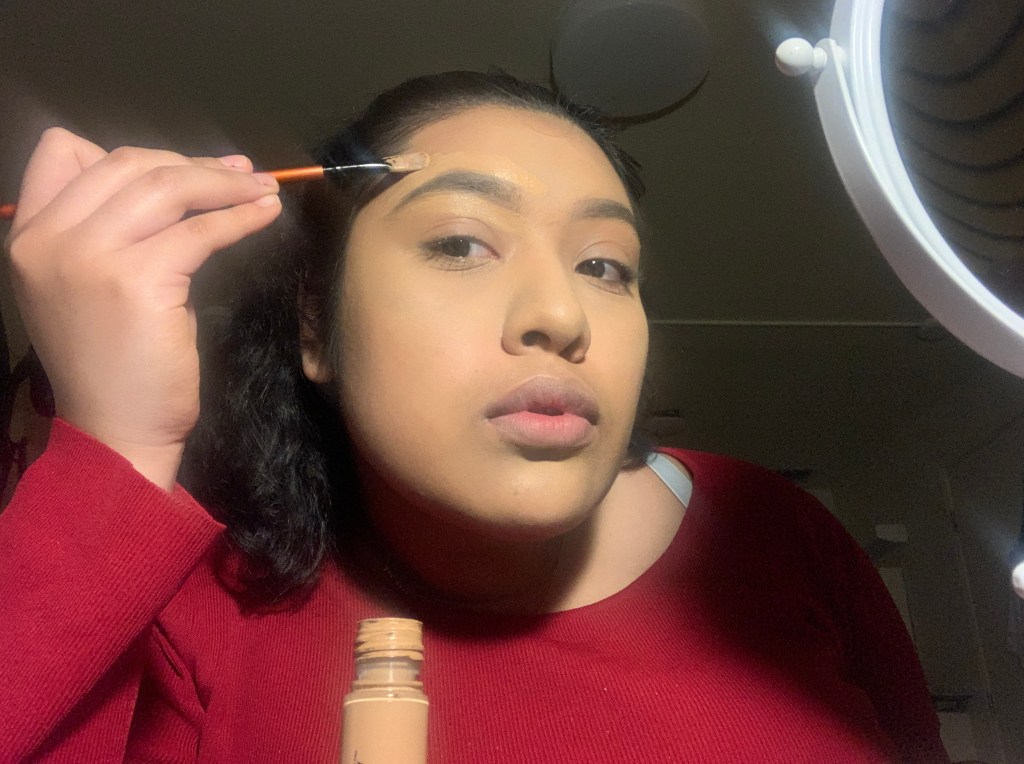
Step 4: Concealer
As you see my desk will get messier throughout the tutorial, so bear with me.
But concealer is amazing because it covers up the dark parts of your face such as your under eyes. It also brightens up your face and makes you look more alive. It all depends on the kind of concealer you get but the Tarte one has a fluffy end which makes it very easy for application.
All you need to do is apply it to the areas that you would like to hide. In my case, I put it in the lower middle of my forehead because there is a pimple scar there, I put it underneath my eyes to conceal my eye bags, I put it on the top of my nose to make my nose look more snatched, and I put it on my chin because I have some acne scars there as well that the foundation couldn’t cover up all the way. Then you use a wet beauty sponge and you just blend! Blend until needed.
Step 5: Set the concealer
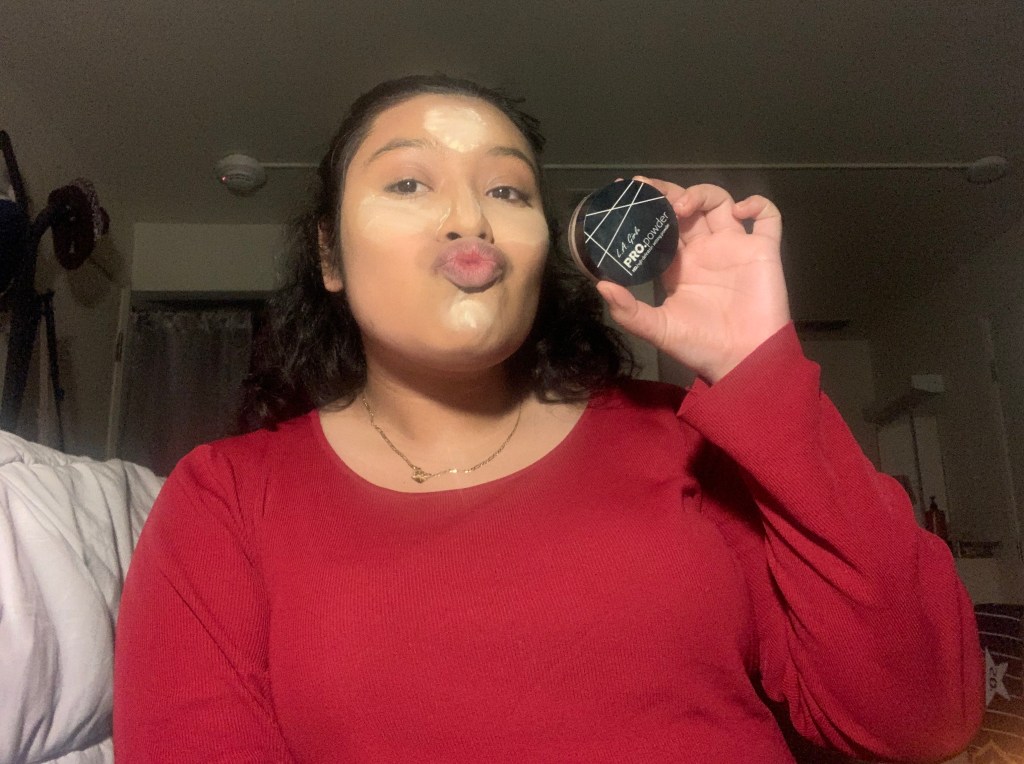
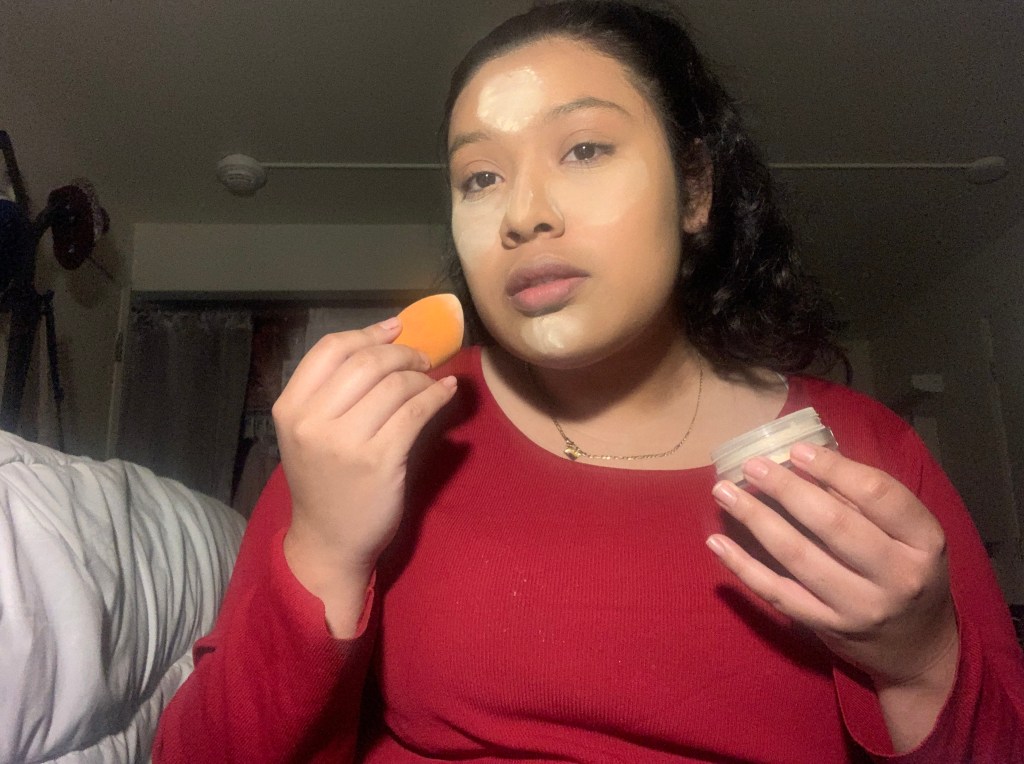
Setting powder is another gift from god because it is what keeps your concealer in place. My makeup type is matte, which means I like my make up to look very set. I don’t like my makeup looking wet or oily. This helps bring that smooth finish to your face and it makes sure that the product underneath won’t move.
I take a wet beauty sponge and I dip into my setting powder and I apply it to the places where I put my concealer. Then you do what we makeup lovers call ‘bake’. What this means is you leave the setting powder on the areas you applied it to for 10-15 minutes. After that you can use a nice powder brush to brush off the powder.
Step 6: Brows
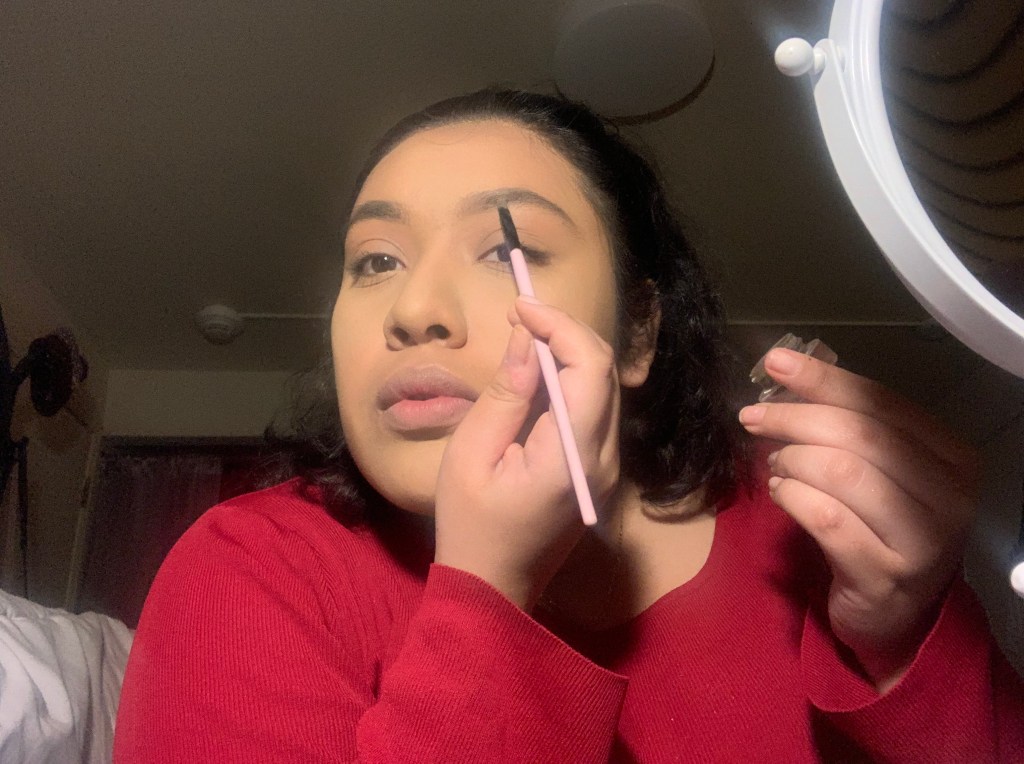

Brows is one of the most important steps because they literally define your face. Brows have always been difficult for me because of my thick eyebrow hair and the struggle of drawing them on. This was kind of difficult to do because right now I have very thick eyebrows and I usually get them done but I haven’t found a good place in Chico to get them threaded, which means cleaned up.
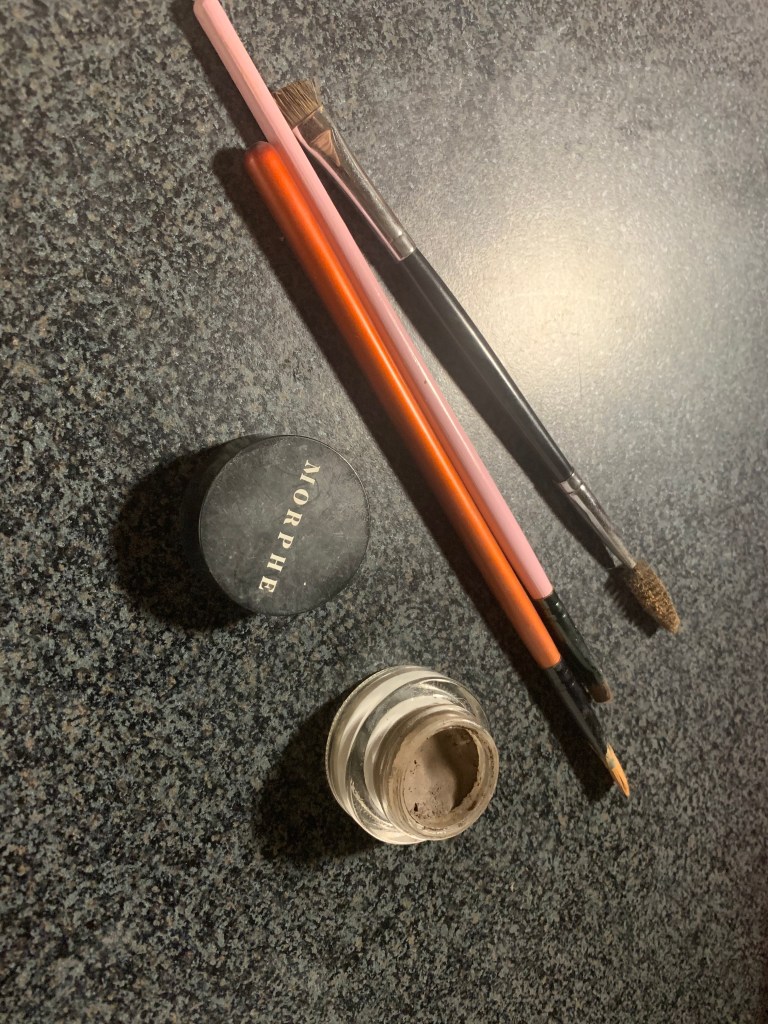
So here is how you do your brows: first you have three tools which is a concealer brush, a spoolie, and an angled brow brush. The brushes are pictured above. The concealer brush is the orange flat round brush, then there is the pink brush which is the angled brow brush, then there is the spoolie which is double sided and has a brush to brush my eyebrows on one end and an angled brush on the other end.
You take the angled brush, doesn’t matter which one out of the two but I use the pink one because it is thinner than the spoolie, and you wet it with the setting spray pictured in step 1. You dip into the brow powder and you draw a line on your eyebrow following the shape. You are basically outlining your eyebrows right now. You outline the shape then you just fill in. I usually don’t fill in the beginning of my eyebrows to give off a faded effect. Then you just get concealer and you outline the outside of your eyebrows to make them look sharp! I have examples provided above!
Step 7: Highlighter (my fav step)
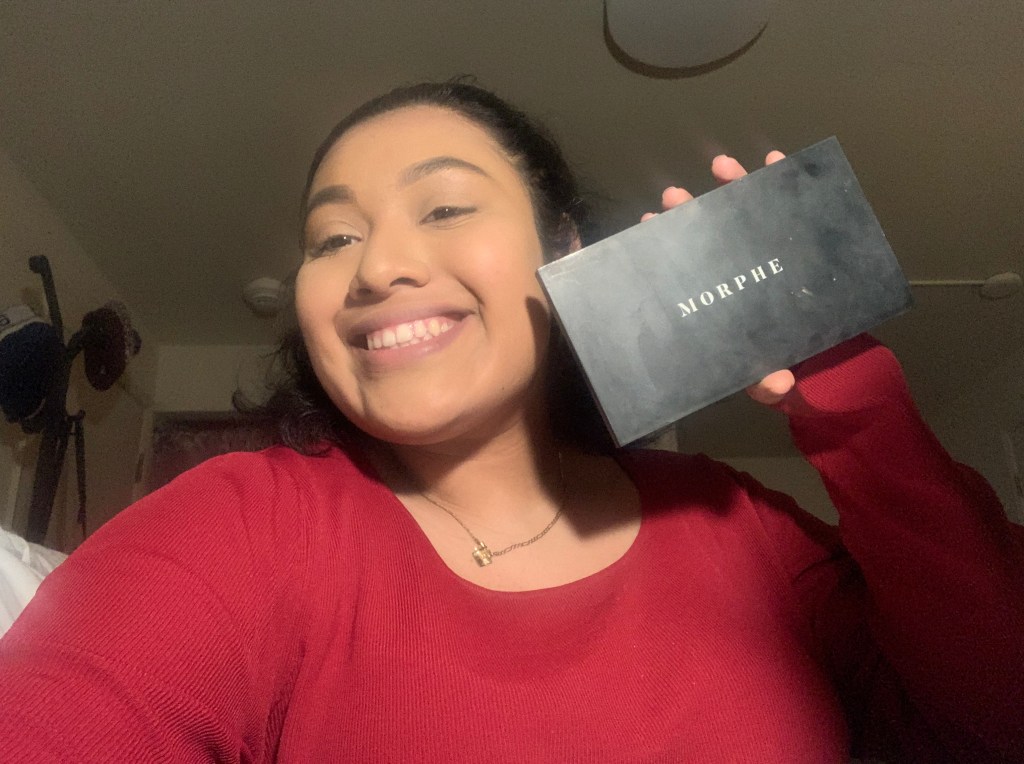
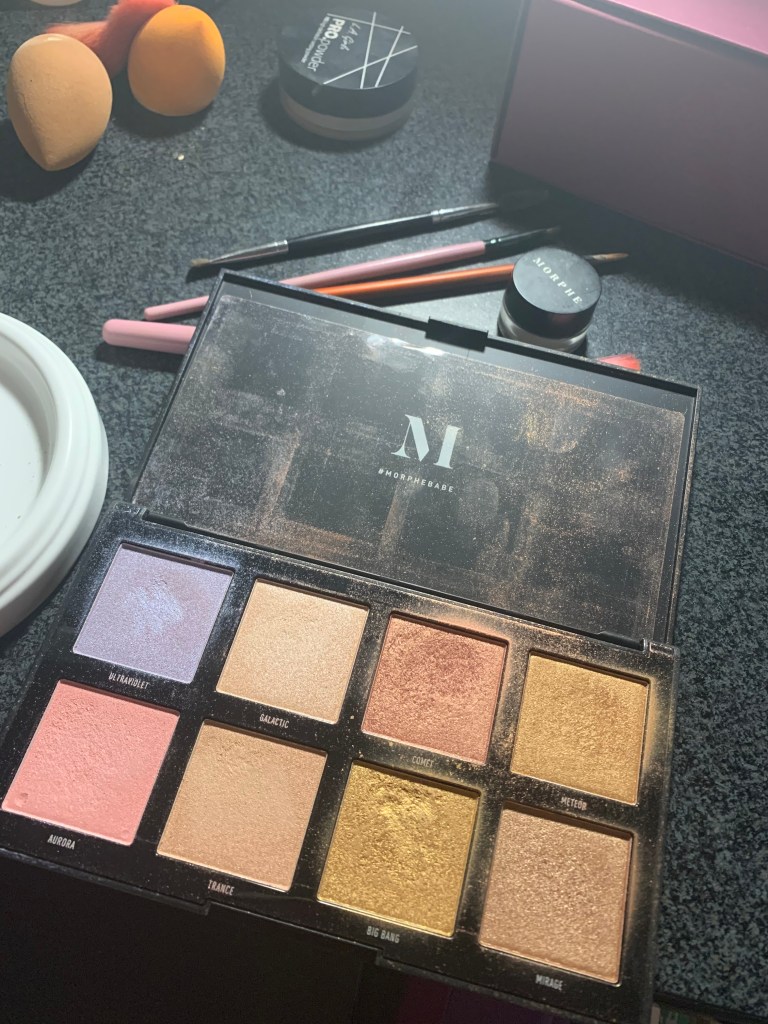
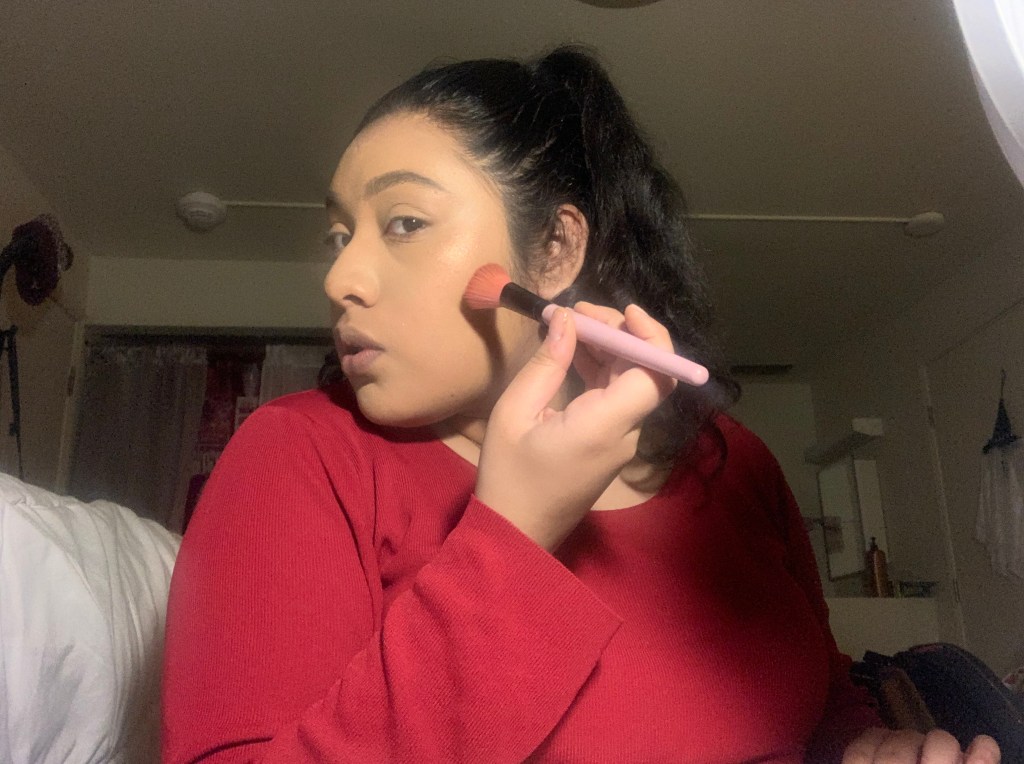
Highlighter makes you look like a queen. I adore highlighter because it shines parts of your face like your nose and your cheekbones and also on your eyebrow bone. A lot of people and beauty influencers use it to shine parts of the faces they prefer. I
have a large brush that is fluffy and angled. I wet the brush with the setting spray mentioned in step 1 and I drip into the highlight color of my choice and I spread it across my cheekbones.
Step 8: Eye shadow
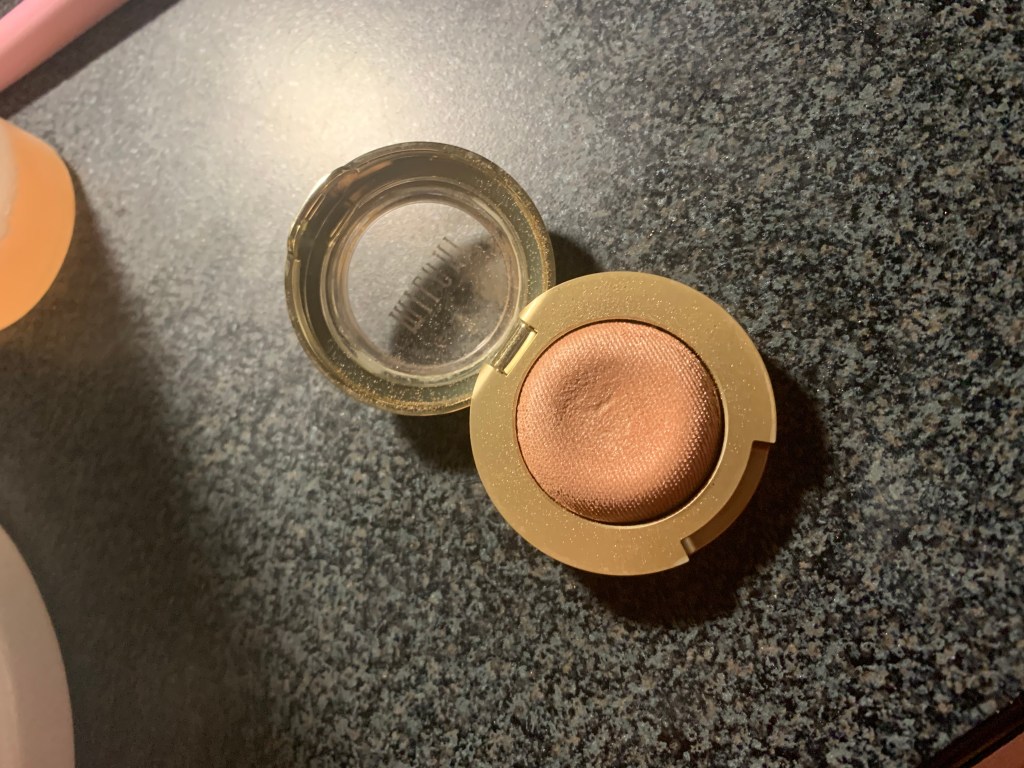
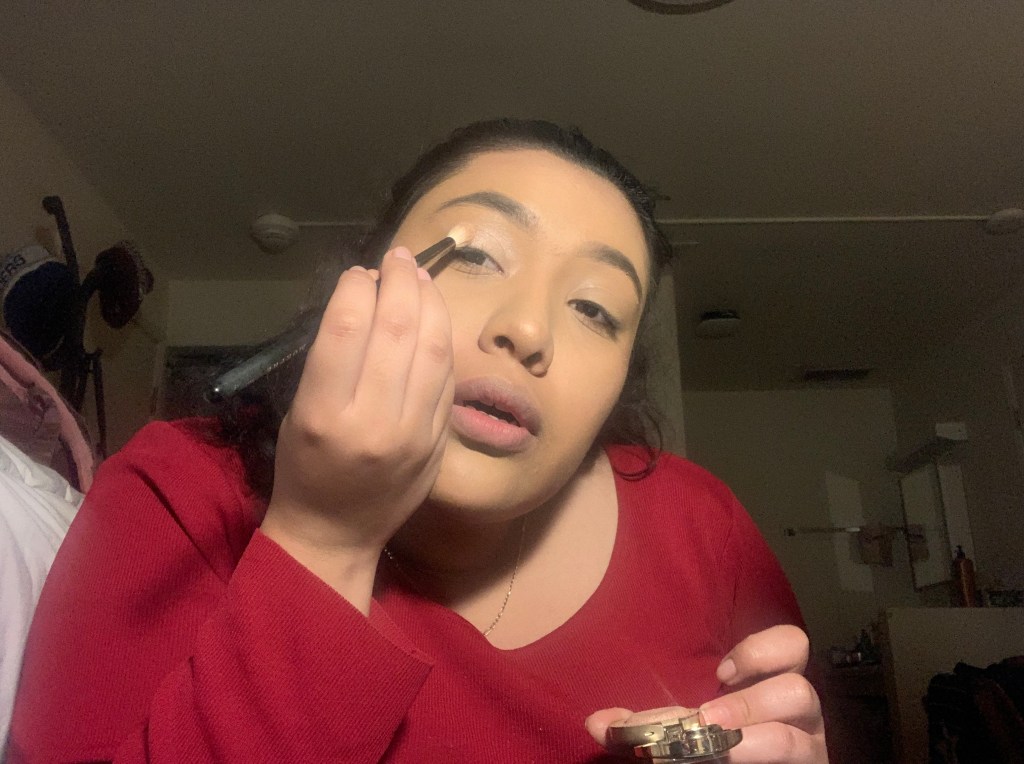
EYE SHADOW IS NOT MY STRONGEST SUIT! But here I have a single eye shadow that is glittery and when I do my soft glam I just put on this single shade.
I use a regular sized eye shadow brush and I wet it with the stetting spray mentioned in step 1 then I dip into the eye shadow and just apply all over my lid.
Step 9: Eyelashes


Lashes instantly make everything better. Lashes have always been difficult for me to put on because yikes that glue, but over time I finally pop them on like nothing. I just took the lashes out of the container, and I put a line of glue on the lash line and I waited for the glue to dry then I popped he lashes right above my real ones. A tip would be to use eyebrow tweezers to apply them.
Step 10: Mascara

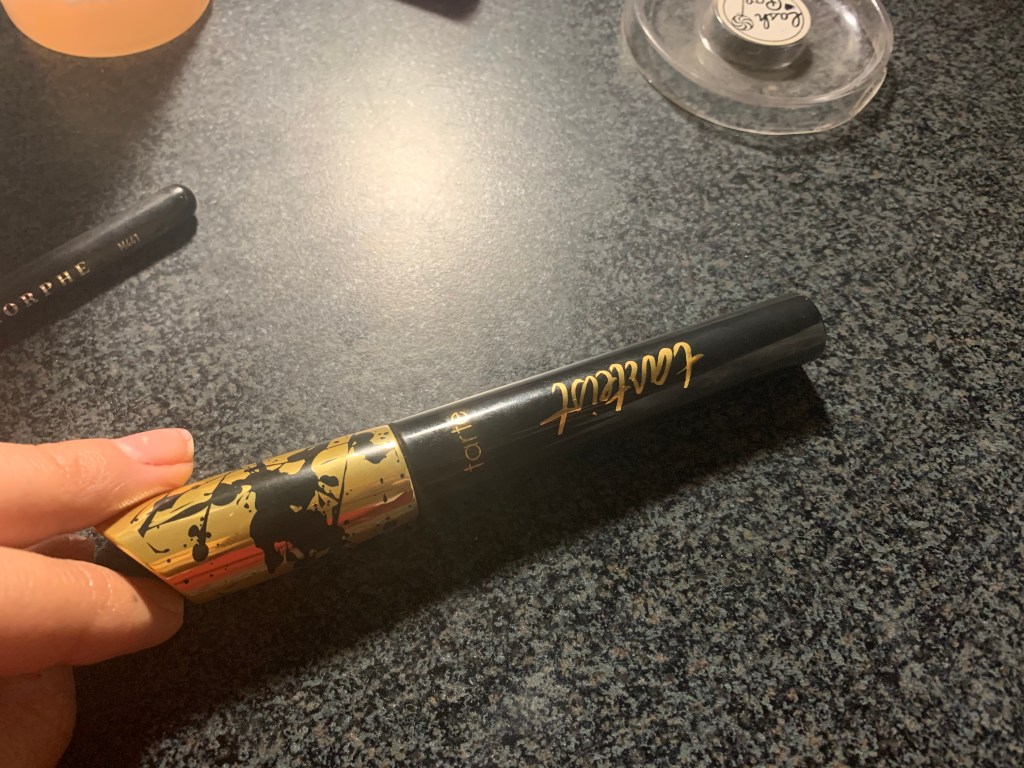
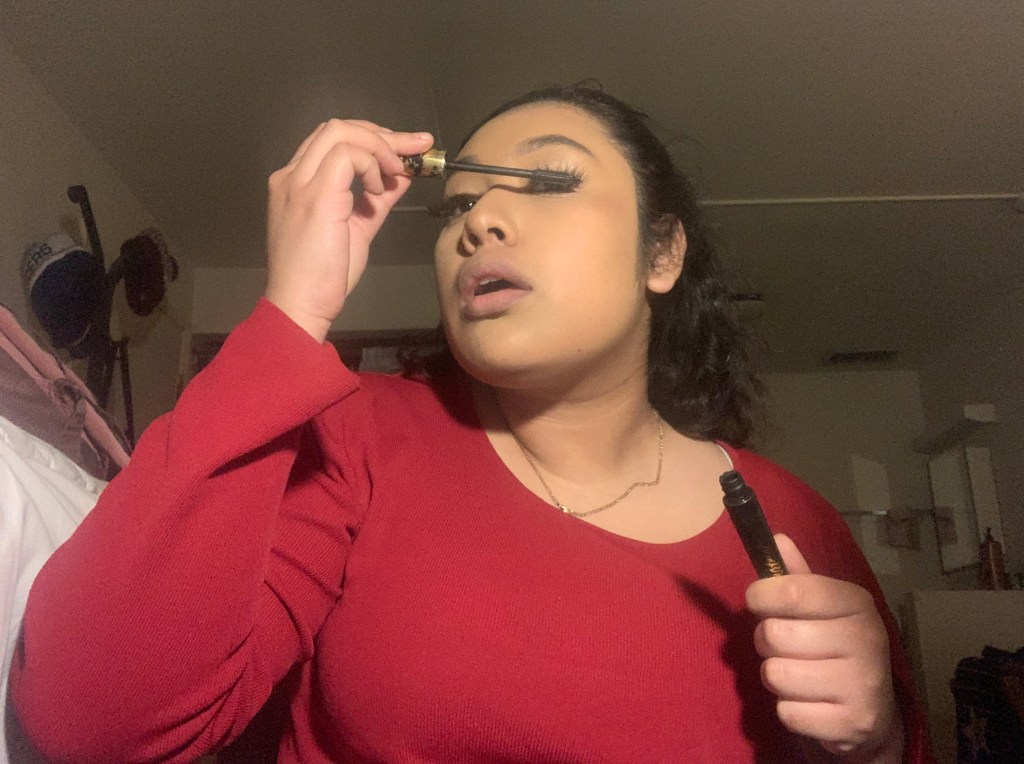
Mascara is a very important step when you put on lashes because it combines your fake ones with your real ones. It is a beautiful beauty product because it darkens and brings your eyelashes to life and makes your face pop. Eyelashes with mascara automatically make your look bold and sexy.
I removed the applicator for the tube and gently put about 3-4 coats to the eyelashes.
Step 11: Lip Gloss (duh)
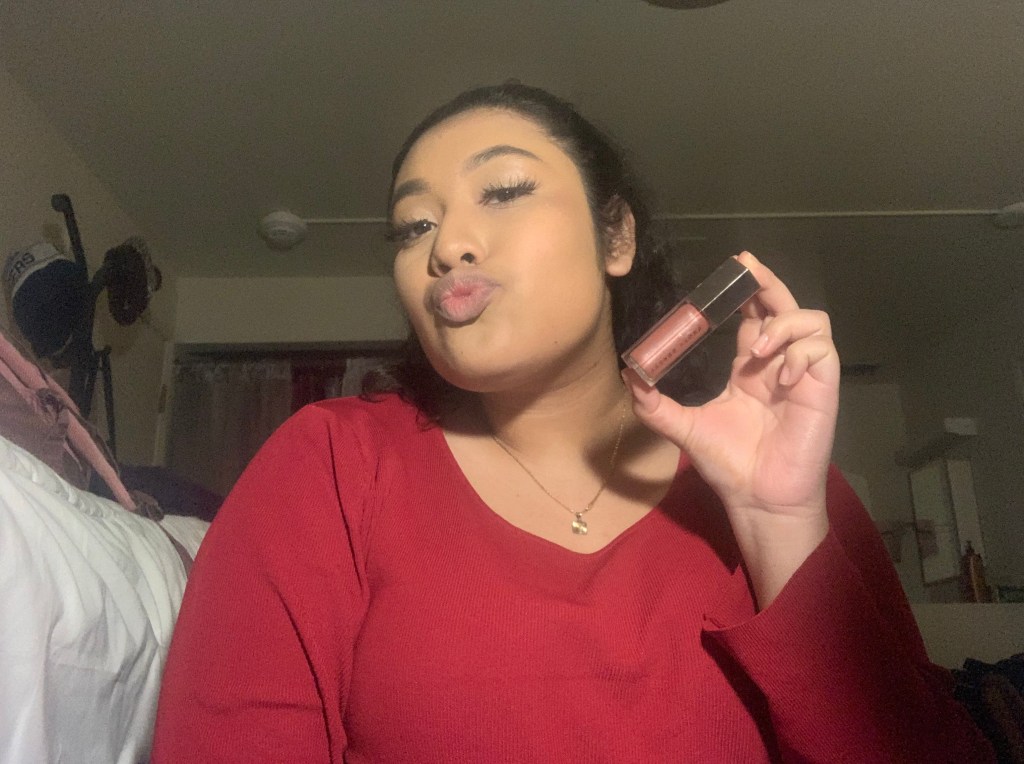

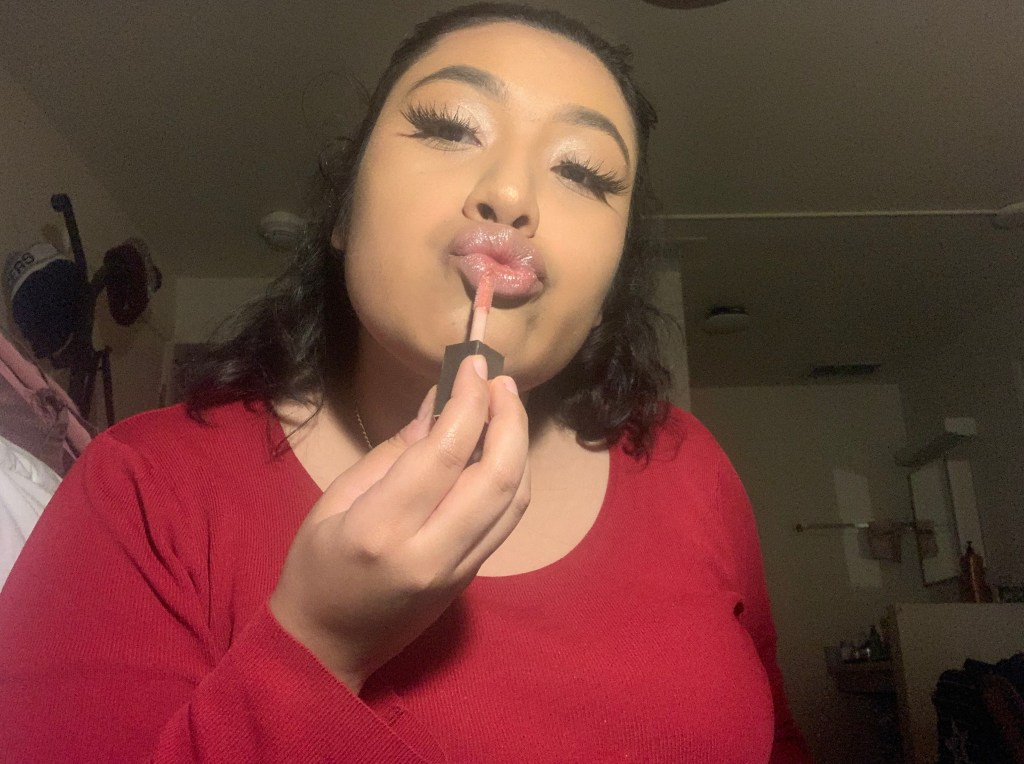
Lip gloss instantly makes me feel like a princess. It gives that shine and plump to your lips and attracts the eye. This lip gloss by Fenty Beauty is so amazing because the formula is very creamy and shinny. You first open the lip gloss and just apply all over your lips evenly.
Step 12: Setting the face
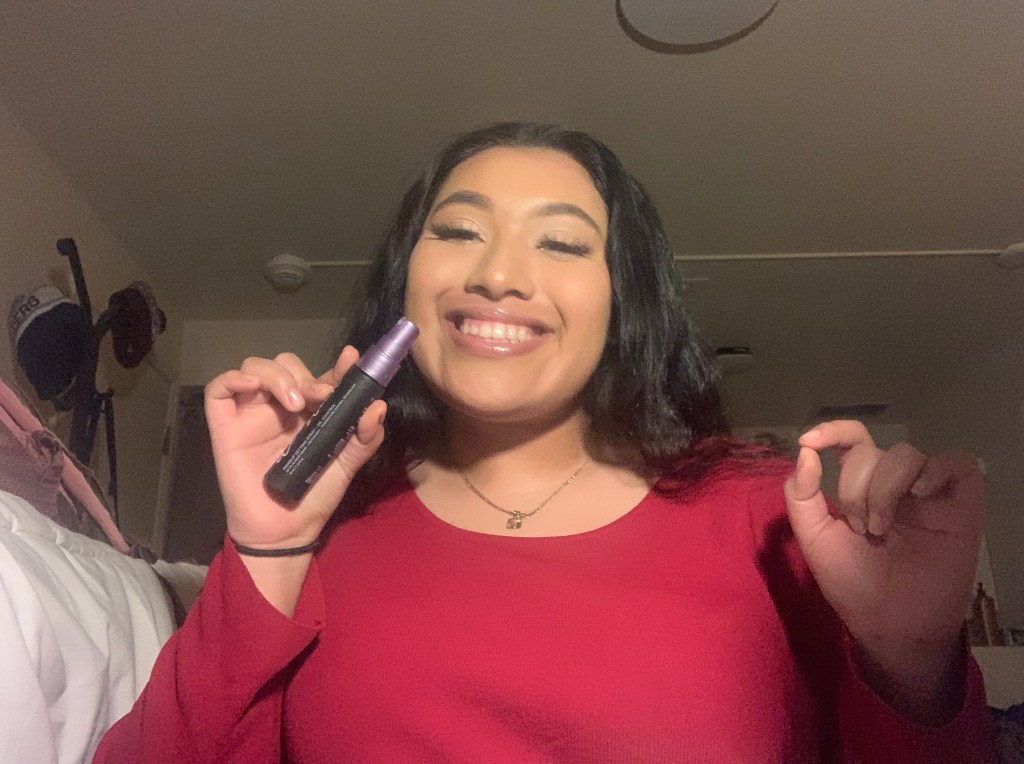
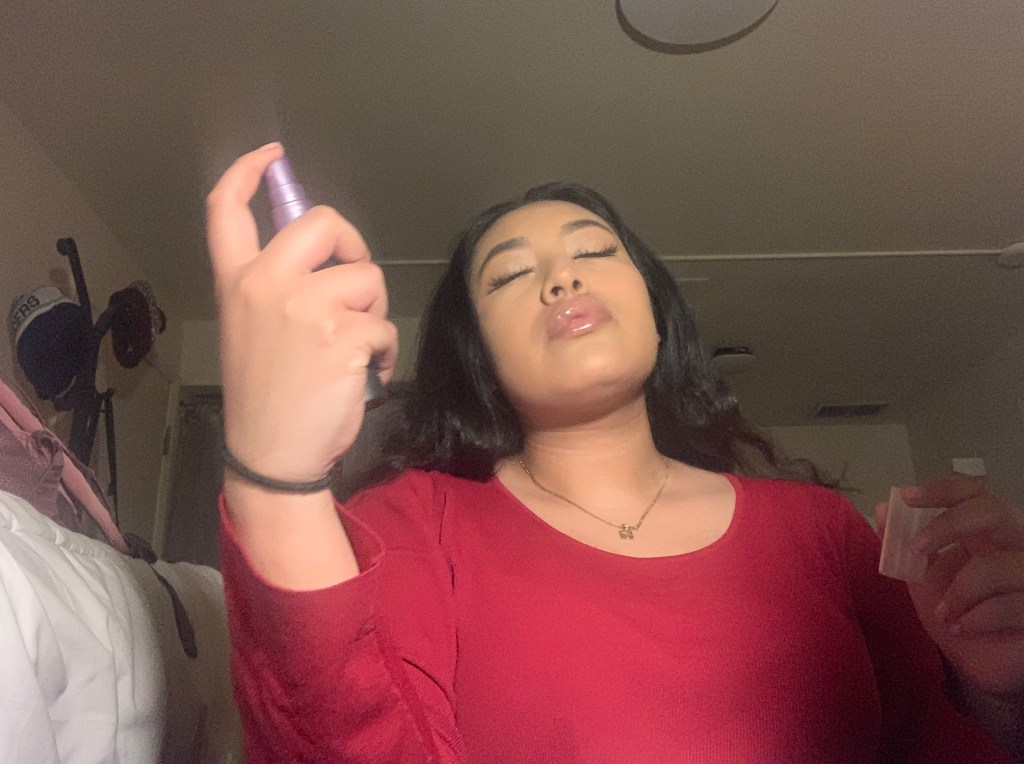
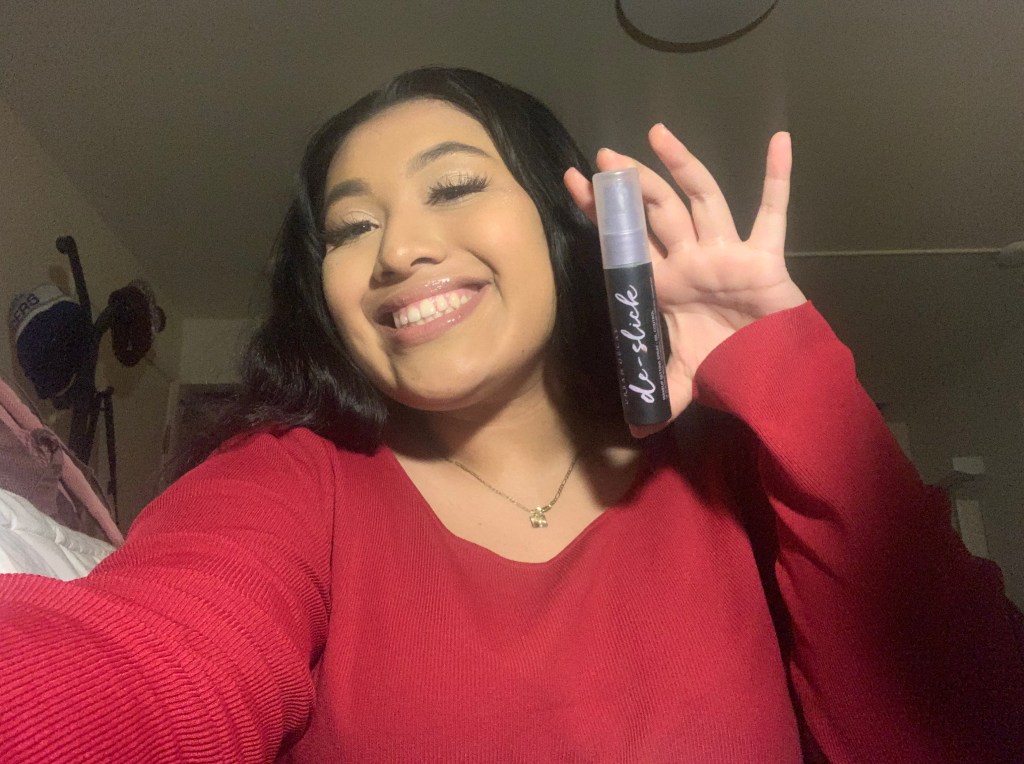
Setting spray is the last important step you will ever encounter. This determines how your make up will look and last throughout the day. When you put on stetting spray, you are setting your face for the entire day so make sure you put it on generously. You open the cap and apply the spray all over your face. Make sure you keep it with you all day so whenever you feel your make up falling off you just spray it right there and fix it!
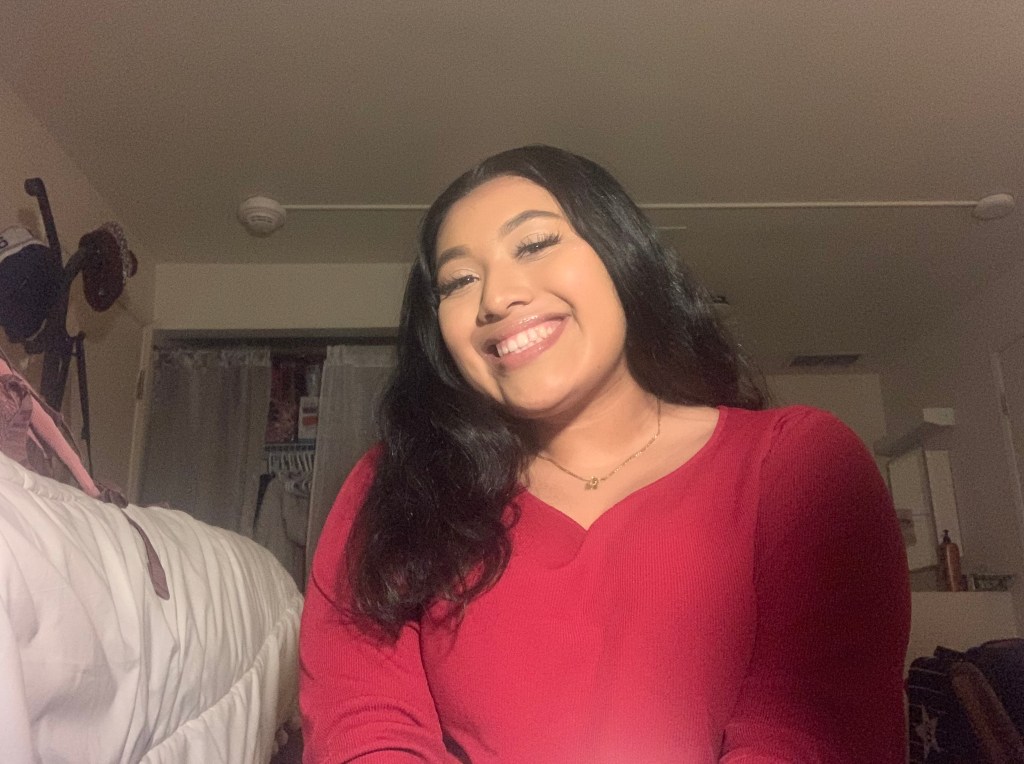
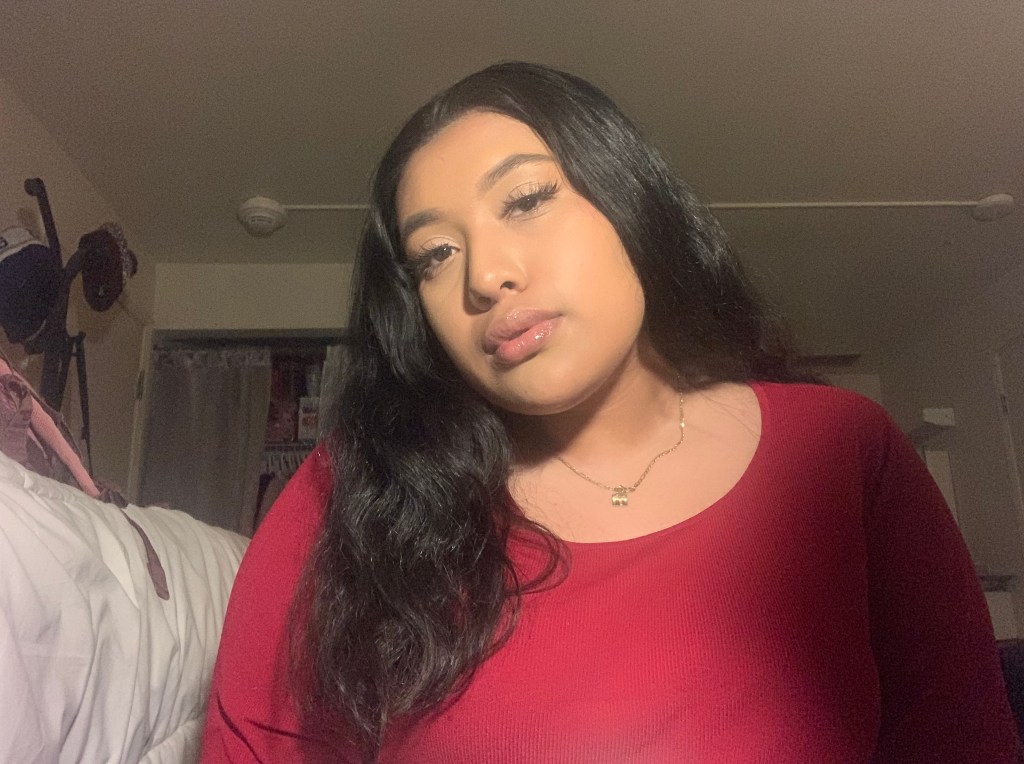
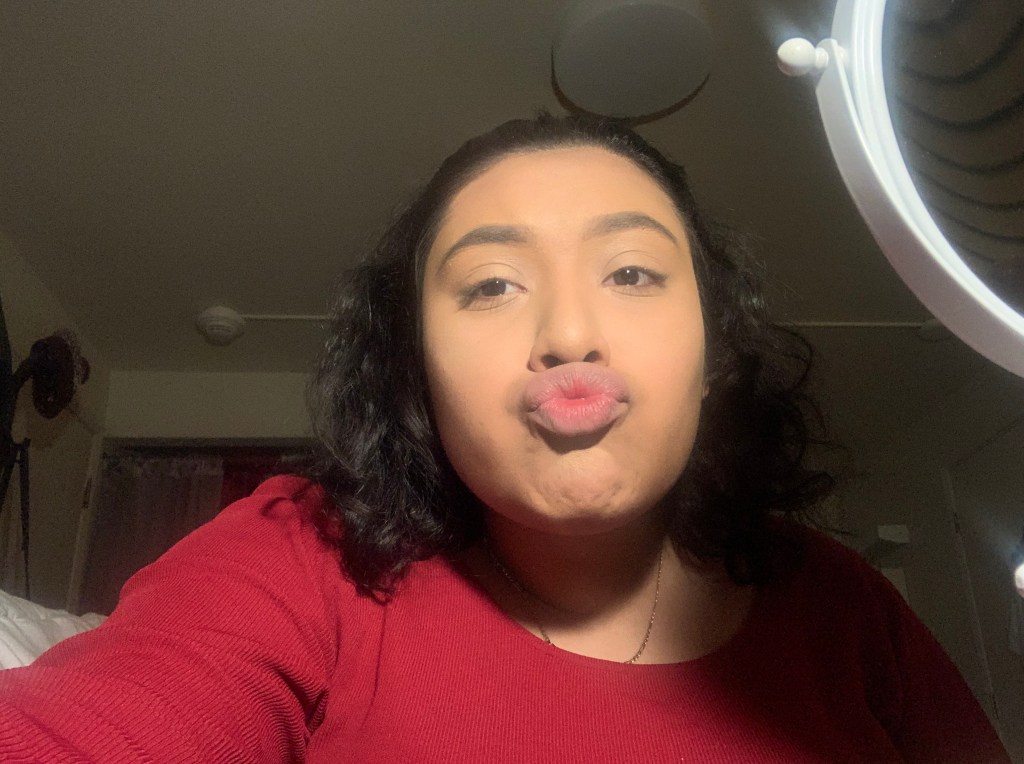
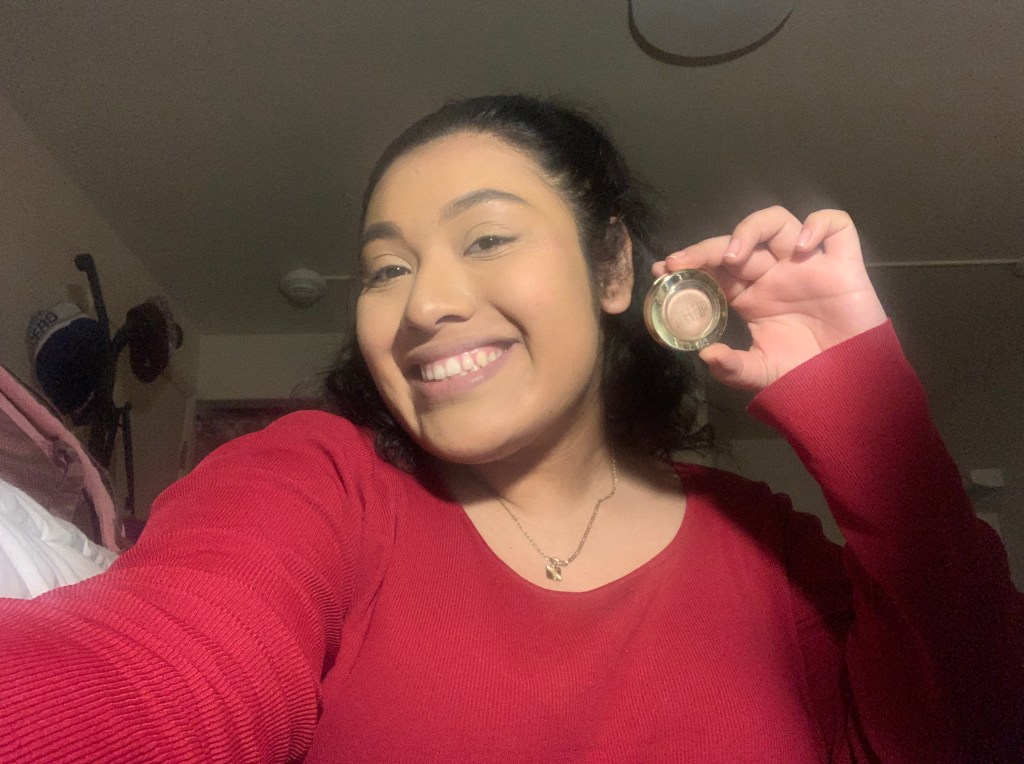
ALL DONE!
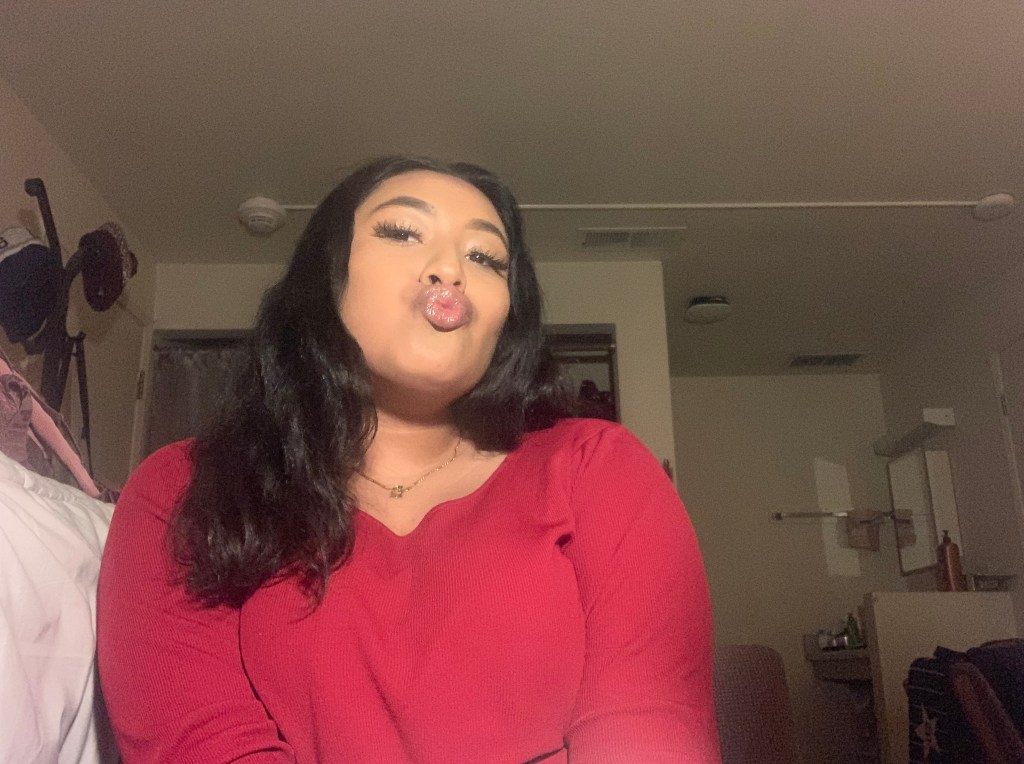
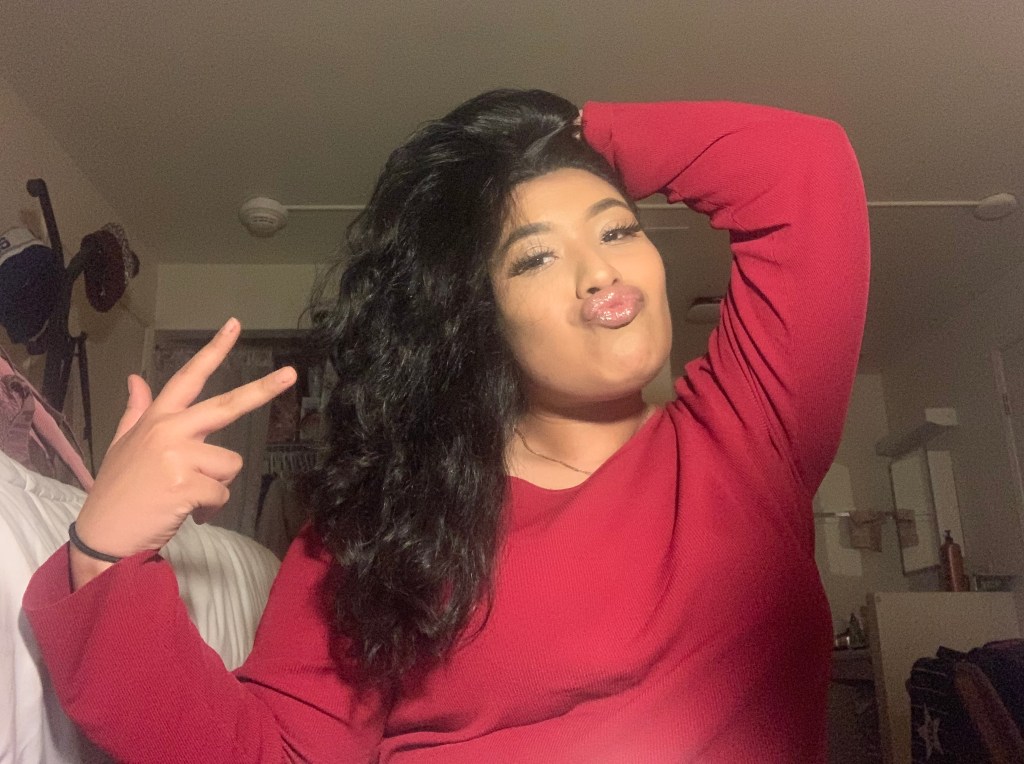

After all the steps, you should look like me! Maybe even cuter! But thank you so much for watching and reading along to my how-to achieve my soft glam look! All of the products mentioned in this tutorial can be found at any Ulta Beauty store or Sephora store in your local mall or plaza! Thank you again for being here and taking the time to look at my tutorial and hopefully you enjoyed it!
All photos taken in this tutorial were taken by Angelina Mendez.
